Wednesday, April 30, 2014

Picture frame - perfect house decoration and gift

Hello, hello ;)

It's Marta here with my special April project.
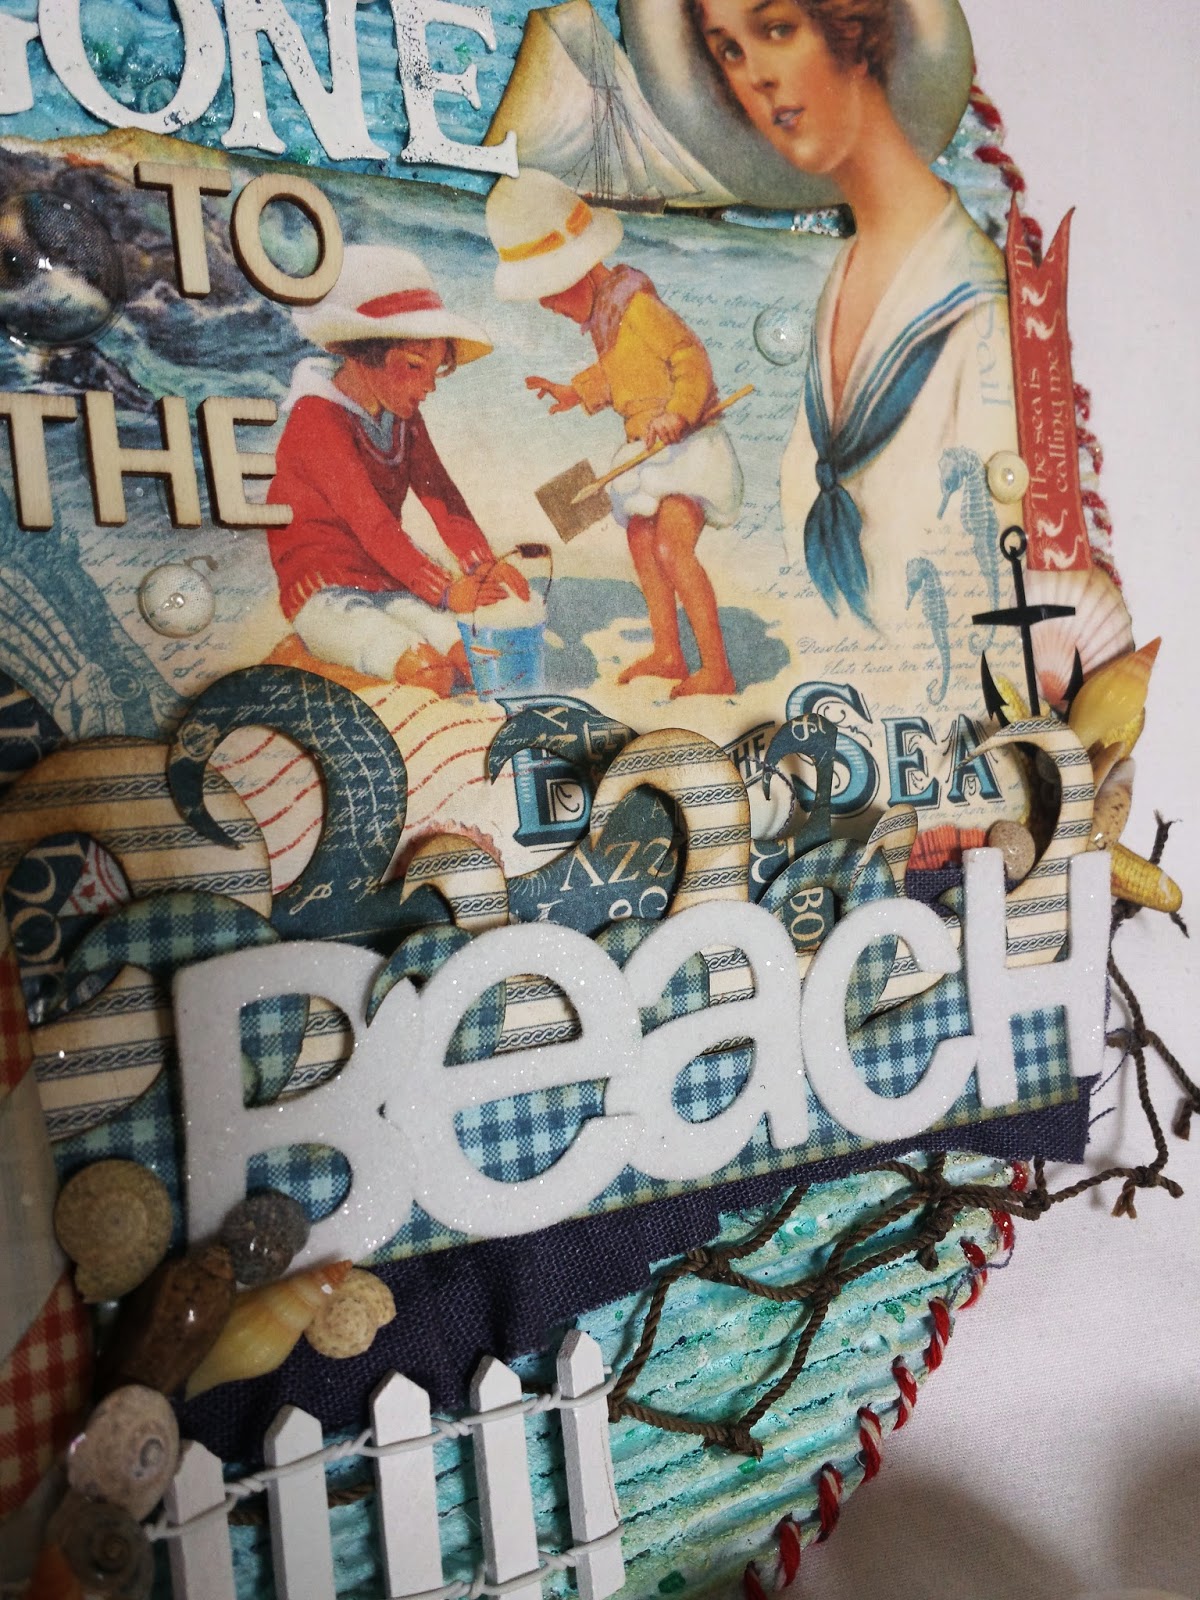
I would love to share with you my picture frame. I wanted to create some work that could be done by everybody and not necessary with craft experience.
This project consists frame, stamped images, shells and stones. Frame can be purchased in every shop, stones are from the beach... Yes, we need those lovely 'The Sea' Graphic 45 stamps and sea shells.


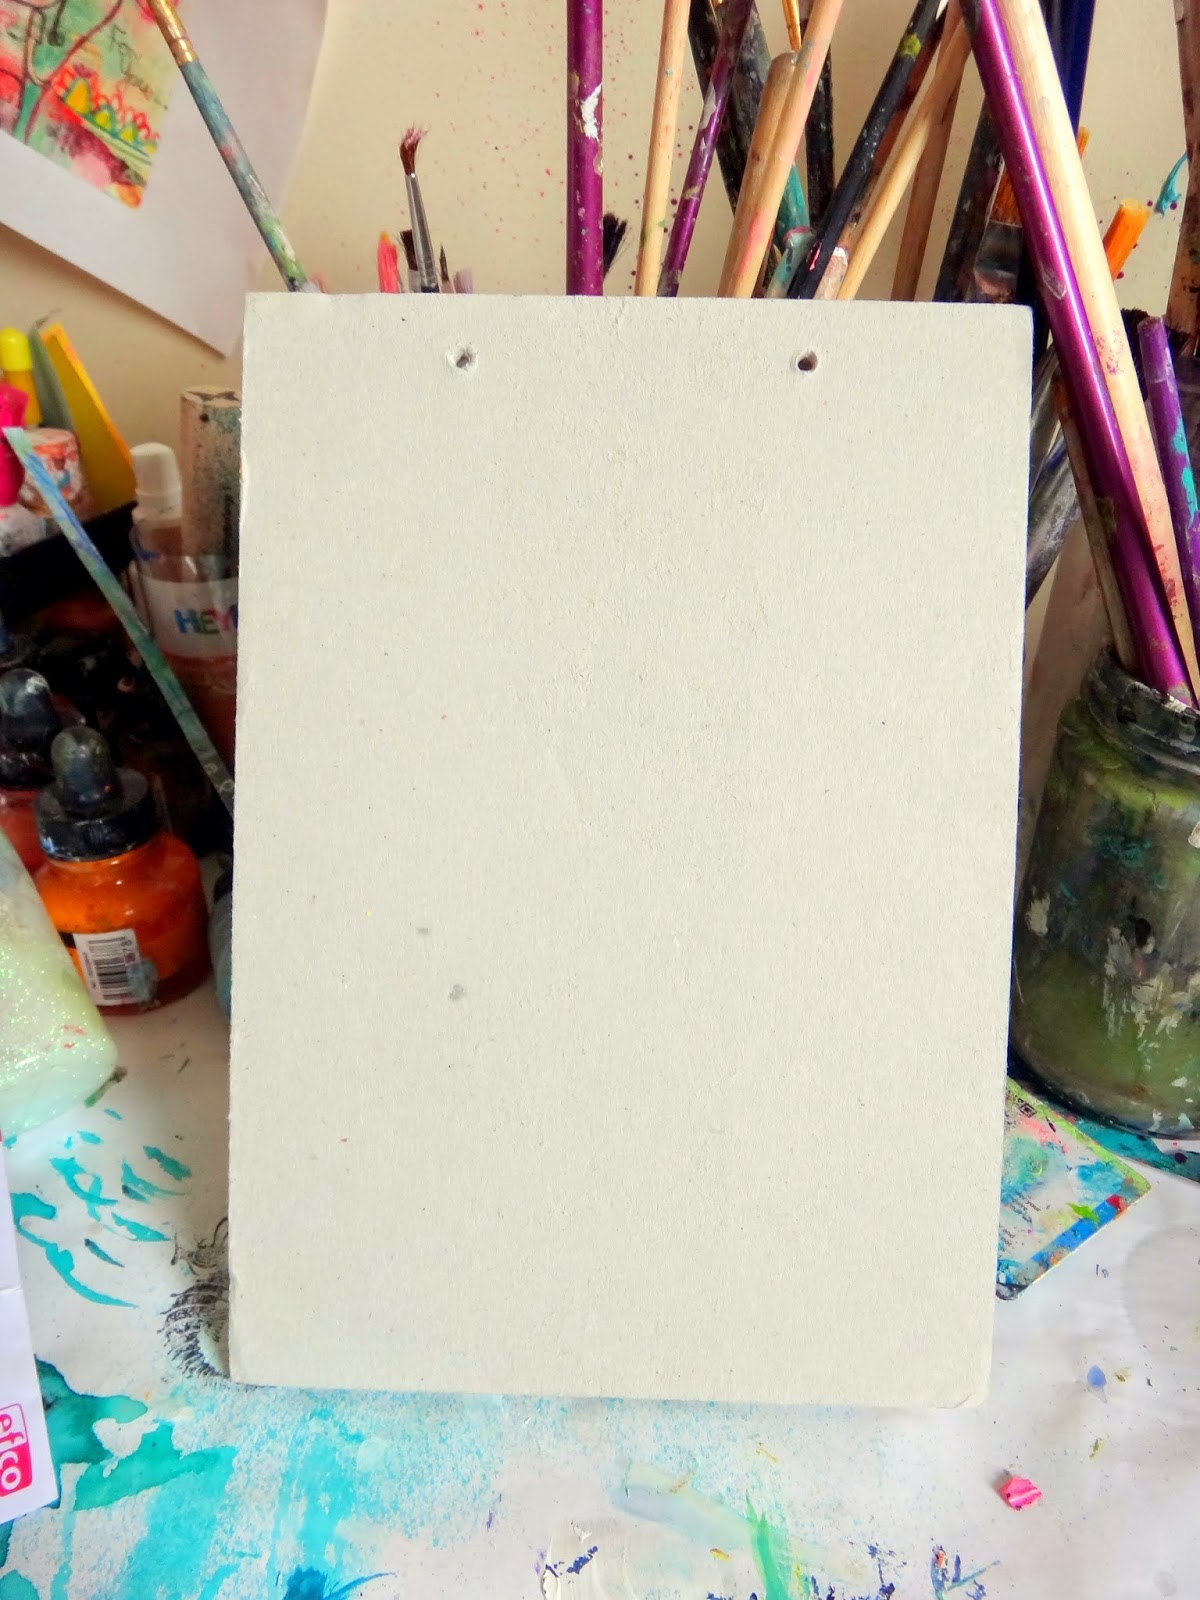
The back of the picture frame was painted with acrylic white paint
I stamped few images on back of the frame. 

 
On the seperate white cardstock I stamped lighthouse, starfish and shell. 
I cut out the images and sticked them with 3D foam squares, this gave some dimentional effect to the project.


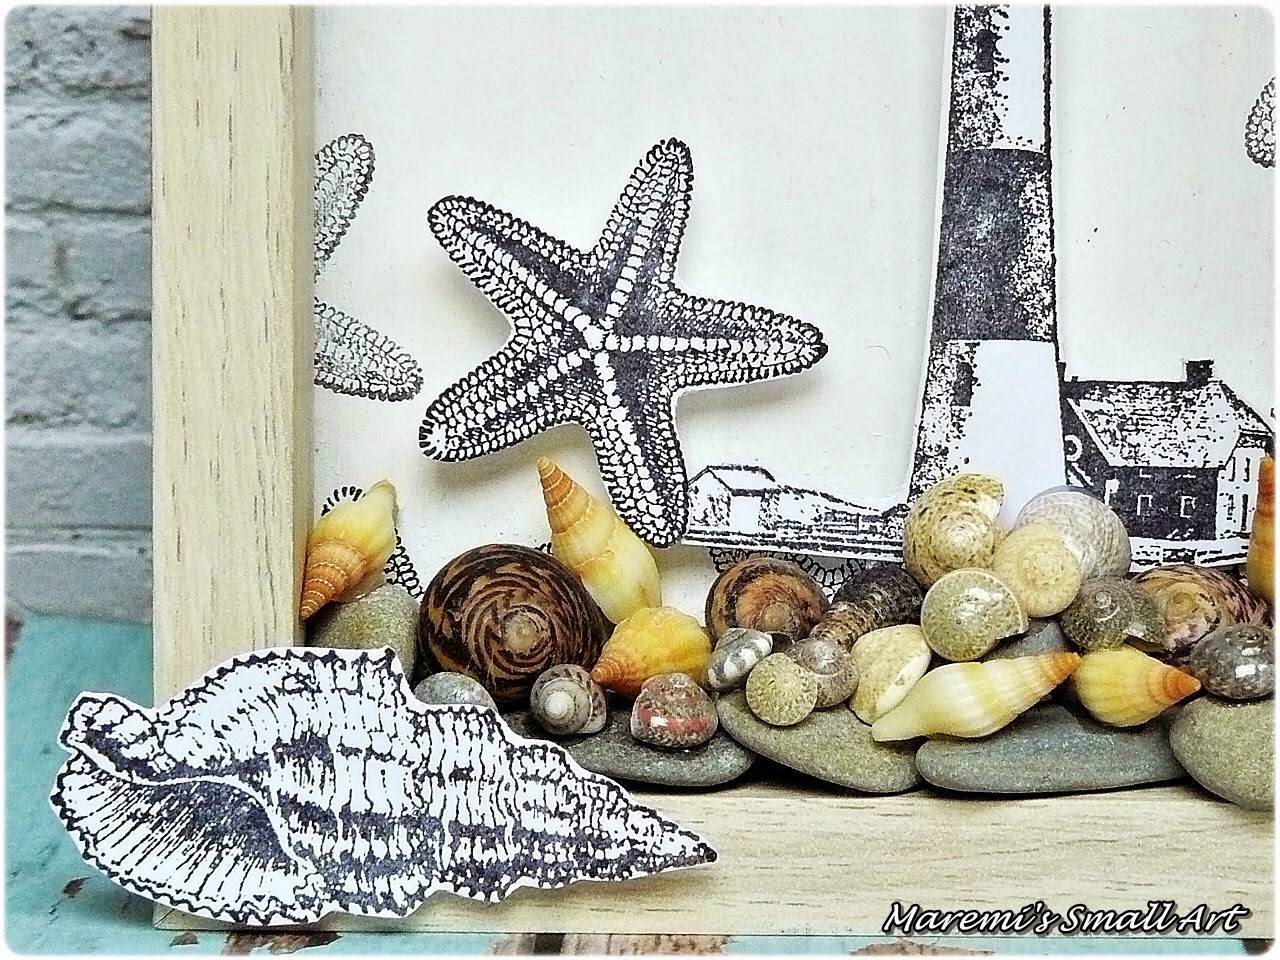
Last part was to stick some stones and shells ;)

I hope I encoured you to try and make some picture frame. 
It could make a great gift for our relatives or just for ourselves. 
Handmade decorations are always precious and special.

If you wish to see 2 more of my projects from the April kit
then click here for Seaside Layout or Summery Cards .

It's the last April project from our team.
In the next month it will be also interesting - I can tell you some small senak peak - Tim Holtz and his beautiful papers ! The whole design team is very excited and cannot wait to start sharing their May projects.

Sending you lots love,
Marta x

Graphic 45 - By the Sea - A Trio of Greeting Cards


Good morning! It's Sandie here with my last post using the April design team kit. We featured Graphic 45's By the Sea paper pad, stamps and various other nautical themed products - all listed at the end of the post. 

Today I have 3 cards to share. 
On this first card I used only the papers, some cardstock and a little piece of twine. I layered them up using 3D foam behind the front panel, for a more dimensional card. 


For my second card I added some fish net and a metal shell charm tied onto the twine. I also trimmed out the starfish and shells from the Beachcomber sheet. Again, I used 3D foam behind the front panel. 


On my last card I used the Graphic 45 cling stamps and stamped out the lighthouse using Fired Brick distress ink and Archival black. The Post Card is from the Sand and Surf sheet. To embellish I cut out some of the stamps from Splash and added some shells with hot glue. 


From this paper pad I have created a 5.5" x 4" Mini Album, Altered Frame and 3 Cards and I still have loads left -  definitely one of the best value for money items I've had in a while. 

Products Used:

I hope you've enjoyed the team's showcasing of all the products in this kit - we are looking forward to starting with a brand new kit on May 1st, so make sure to check back. 

Sandie
xXx

Tuesday, April 29, 2014

Altered paper bag- bonus project by Sylwia

Hey Arty Souls:)

This is a bonus project for April. I wanted to show you how easy you can add personal touch to paper bags. As you know I love to up-cycle and recycle everything and I always keep paper bags, envelopes and shopping bags. And when I need to pack some gifts, I just pull the paper bag, add some paint and paper scraps and this way I create unique gift bag.

Products used:
- Gesso
- Ribbon
- Gelatos 


I hope you enjoyed it!

See you again in May :)
xx
Sylwia


Monday, April 28, 2014

Gone to the beach

Hello lovelies

Mandy back with a second project I created with the Graphic 45 “by the sea” collection.  I created this sign to hang up on days we hope to make it to the beach this coming summer, I can’t wait for those lovely days.


I started this sign by cutting a circle out of a sheet of cardboard.  I stripped back the top layer to expose the ridges.  I covered in random places with texture paste and painted over roughly with gesso.  I also went in with a Prima Dollie stencil and another bit of gesso.  I layered blue tone sprays over all of this,  allowing the ink to drip into the cracks. 


I created my lighthouse by curving a layer of paper from the 8” x 8” paper pad.  I painted the paper with a watered down white paint and embossed with a brick wall effect embossing folder.   I used some acetate and more paper to create the top of the light house.


I layered up cut images from the paper pack along with hand cut waves, ribbon, fishing net and some picket fence.  I also create 3 paper flowers using Sizzix Tattered Floral Die, using my paper scraps and finished with glitter.

Thank you so much for swinging by.  Looking forward to sharing next months projects with you.  I have included the video of the kit I will be playing with.


Take care,
Mandy

Ingredients:
Distress Glitter by Ranger.

Sea Shells.

Other Products : Clear Gems, White Fence, Paint and Gesso (from my stash)

Tuesday, April 22, 2014

Summery Cards by Marta

Hello crafty people :)

I am very happy to share with you my three summery cards today.
My todays creations are part of my design team work for Cardz 'n' Scrapz.
We received wonderful products this month. 
Beach, sea and summer are words associated to this products.
All three cards could be a perfect summer, holiday souvenir or wonderful gift for a close relatives.

For my first card I have used lovely image of sea. I sticked some small, 
cute shells into the photograph. 
Behind the photo I attached the fish net. Papers used are from Graphic 45.


In this creation you can find not only papers from Graphic 45 but also 
their beautiful stamps (word sea and seahorse image). 
Whole card is tied with bamboo blue cord.

My third card has some mixed media touches. On the backround I used Tim Holtz stencil and structure paste. I splased the backround with Tattered Angles Mists. On the side I attached great wooden chipboard. Fish net was coloured in black with some ink.

Products used:

Here is few more photos :)


If you would like to see my previous project with April kit then please click here for my Seaside Layout.
I hope you have enjoyed this creative journey with me. 
I will see you soon, hugs
Marta x

Saturday, April 19, 2014

'Sea is calling me'- mixed media wall ornament

Hello Arty Souls!!!

Mixed media wall ornament is  my second project for April. This time I decided to combine art products from the Kit and Air Dry Clay. I will describe how to use stamps with clay to add even more dimension to your projects :)Enjoy!!!!


Products used:

I used a piece of cardboard as a base for the project. I love up-cycling different materials.


I pierced two little holes for hanging and adhere pieces of paper by Graphic 45.


Than I added a little bit of paint to give the background more arty look.


I used distress ink pad to distress the edges as I aimed for a vintage look :)


I glued the fish net...


And now the fun part with clay:) 
I rolled the piece of clay and made it flat so I could cut the pieces of the boat out. And straight away I pressed the stamps into it. Than I left it to dry overnight...


When clay was dry, using my fingers, I gently rubbed the paint into clay. The trick is to rub it very gently so the paint won't go into the letters. Silks and acrylics work very well for this technique.
And of course I added some shells and pieces of coral (found on Coral Beach in Connemara).


To make my boat  stand out, I added piece of vintage dictionary paper (to create some contrast)


I also added bamboo cord as a hanger.


I hope you enjoyed it!!!
xx

Sylwia

Tuesday, April 15, 2014

By the Sea, Reversed Canvas

Hello Lovelies,

Mandy here  with my first project as part of the Cardz’n’Scrapz design team.  Today I bring you a canvas I created.  I turned my canvas around so that it created a deep edge frame for me to work with. 


I began my project by painting the outer side edges with some blue toned acrylic paint.  I then started to cover the front of the frame and the inside depth part with paper from Graphic 45 ‘by the sea’ collection.  After I glued that in place, I sanded the edges and used Gathered Twigs Distress ink.  To tone down the colour in the paper I painted on some watered down gesso.  I also stamped over this gesso when dry using the Graphic 45 ‘by the sea’ coordinating stamp collection with a permanent brown ink.  I sealed all of this with a thick layer of Distress Crackle Paint in Rock Candy.  After my crackle paint had dried I randomly used Stampendous Frantage Shabby White embossing powder along with Ranger Antiquities embossing powder in Vertigris to give the frame an old look.


For the main part I printed my photo on copy paper and adhered to the inside of the canvas.  I blended it in by using some brown paint and white gesso on an old plastic card.  I cut out various different pieces from the paper collection, like shells, boats, lighthouses, dials and other shaped too to create all the different layers for me to build up my scene, each piece had its edges inked with gathered twigs and distressed with my scissor blade.


I started to then group all my different cut elements around my photo, complimenting with the fishing net, shells and more fussy cut pieces from the paper.  I also added some gems to give the effect of sea glass.

I really had fun creating this, as it allowed me to finally scrap the pictures we took of one of our favourite places in Co. Mayo.  I was never able to find the right collection to make these work, but the Graphic 45 ‘by the sea’ did just that.

I have a video here also on the goodies we received for April, so you will be able to see the product in much more detail.


I hope you like this and it helps inspire you.  Thank you so much for swinging by, and don’t forget to check out the goodies I used in the store! J

Mandyxx

Ingredients:
Fishing net.
Efeo mini shell Mix.


Other products used:

Glimmer Mist in Patina, Dylusion White Linen Ink Spray, A4 Canvas, Ranger Archival Ink in Coffee, Distress Crackle in Rock Candy, Felt shapes from my stash, Prima resin border corner, Distess Ink in Gathered Twigs, Ranger embossing powder Antiquities in Verdigris, Stampendous Frantage Shabby White embossing powder.

Altered Papier Mache Frame - By the Sea

Hi guys, it's Sandie here with another project featuring Graphic 45 By the Sea papers and stamps, and some other nautical goodies. 


I started out with a bare papier mache frame and roughly applied a couple of coats of gesso. I wanted to give the frame the texture of lighthouse walls. Once the gesso dried I then I added some white paint, and dried that off quicky with a heat gun. I trimmed down the By The Sea sheet to fit inside the frame. Then I adhered the fish net and shells around the frame. 

I stamped out the lighthouse from the Cling Set 1 and trimmed it out with a scissors. 

I also cut out some stamps and star fish from the papers and tucked a little bit of the net underneath


Thanks for dropping by!
Sandie
xxx