Showing posts with label Chipboard. Show all posts

Thursday, August 21, 2014

Spool Plinth Halloween Bottles

Hello,  

Mandy here sharing a Halloween themed project for August.

I created this project by altering a large wooden spool, altered with Lindys Stamp Gang Embossing Powder in "midnight copper", black lace by Papermania, sprayed white lace with "squeezed orange" by Dylusions.


The box part was created with thick cardboard/chipboard, I made a box that measures 4.5" x 2" x 3".
I painted both sides before I glued it together while flat with black craft paint.  I used Graphic 45's "An Eerie Tale" to cover both sides.  I created a scallop edge for the bottom with some purple paper from this collection too and a top pelmet with covered chipboard using  the "ornate" large die by Tim Holtz.


The top was covered with Prima flowers, a clock paperclip also by Prima and a skull.  The inside was done by filling a large glass bottle with a broken up skeleton and by colouring some Glossy Accents with "fired brick" Distress Ink reinker.  This was dripped over the bottle for a bloody effect.  I also filled a small bottle with the reinker.  I layered over paper labels using the embossing powder and tags from the paper collection.  Some black lace was used along with black gems to embellish.

I hope you liked this project and it inspires you to start your Halloween preparations.  Thank you for looking.  I have included a video on the kit I played with for this project so you can see the product that is available in the Cardz'n'Scrapz shop in more detail.

Mandyxx

Saturday, July 12, 2014

Tagged Card

Hello lovelies.

Happy July, hope everyone is enjoying their summer!  Today I am sharing my first project for July.  I created a card from our mixed media style kit this month.  I used the Prima tags bound together to create my card base.  I love how these tags allowed me to create a unique card shape.

I covered the front of my first tag with paper by Mod Podge and placed a layer of lace by Websters Pages over the top and sewed into place.  I also added some splashes of the beautiful  Luminarte Silks, vibrant paints & Lindy's Stamp Gang Starburst.


The centre of the card has a journalling notecard by Prima, with lace added to the edges along with some ruffled trim by Papermania.

I added a banner from Autentique paper line in music notes.  The centre piece of my tag is the chipboard flourish from last months kit painted in Antik metallic liquid and silks.  I stamped the dress form stamp from Deep Red on patterned paper, cut out and layerd over chipboard.  for finishing touches to this I added some Prima resist canvas.  The top of card is created with wooden dolls wooden bunting also by Prima.  All finished with a sentiment epoxy sticker from Heidi Swapp.


Thanks for popping by, loves Mandyxxx

Thursday, May 22, 2014

Balcony Box

Hello!

I hope you are all having a lovely May so far.  I am back again today with another project.  This one is recycled.  I have been saving this box from my mobile phone, because of its shape for a while now, waiting on the perfect altering project.  The kit from this month was just perfect as the Prima resin banister was the very same size!  

I started by covering the box with Wallflower paper, I covered the raw edges with paint, I used Artiste Storm Cloud (available in shop) as it is a lovely off white colour.  I rubbed some Antik Metallic gold paint on the edges and did some stenciling with Spun Sugar Distress Ink and Tim Holtz chicken wire stencil.  I finished off the main box decorating by raising it on 4 wooden thread spools, added some cut leaves from the paper collection and wrapped some lace around the back edge.

The inside was decorated by fussy cutting some leaves and flowers from the collection and adhering to the inside back panel, some paint drips using Glimmer Mist in Caper Green and Rich Brown.  I coloured my Gorjuss girl stamp with my colouring pencils and paper pieced her dress.  I stood her up with some acetate and finished with the Prima resin and some flowers.


The top of the box is chipboard cut using Tim Holtz Pediments Die, sprayed with Glimmer Mist in Splash and coated with a layer of UTEE.

My finishing touches are some bunting layers on canvas and fussy cut butterflies.

Thank you for looking.  All the goodies I used can be found in the shop :)

Mandyxxx


Monday, May 19, 2014

Vintage layout by Marta

Hello my friends.
It's Marta here with my second May project.
I would love to share with you my vintage layout.

As a base for my layout I used beautiful paper from Tim Holtz Idea Ology. The lovely roses that you can see where originally on the paper. I tried to show the beauty of the papers by not covering it but to integrate it with my design.


The whole layout is stiched around by sewing machine. 
I also used stamping and stenciling on the backround.
All the paper pieces were inked on the edges. 
Under the flower you can see Chipboard Backround Lattice. I covered it with Prima Chalk Edger.
Added flowers were from my stash. The butterfly was cut out from the same paper. This is a great idea if you don't have much embellishments. Try to find on the papers some designs that could be cut out and used as your very own embellisment. Here is the photo of those paper butterflies.


Another stunning addition to the project was Prima Marketing Shabby Chic Treasures Resin Railings. I distress it with black ink and Prima Marketing Chalk Fluid Edger Pad Dark Rust.


I hope you have enjoyed this project. If you didn't see my vintage cards please check them out here :)
Love, Marta x


Monday, May 5, 2014

Vintage cards by Marta

Hello crafty people ;)

I hope you are having a great May weekend.
I am super happy that I can share with you my new creations from May kit.
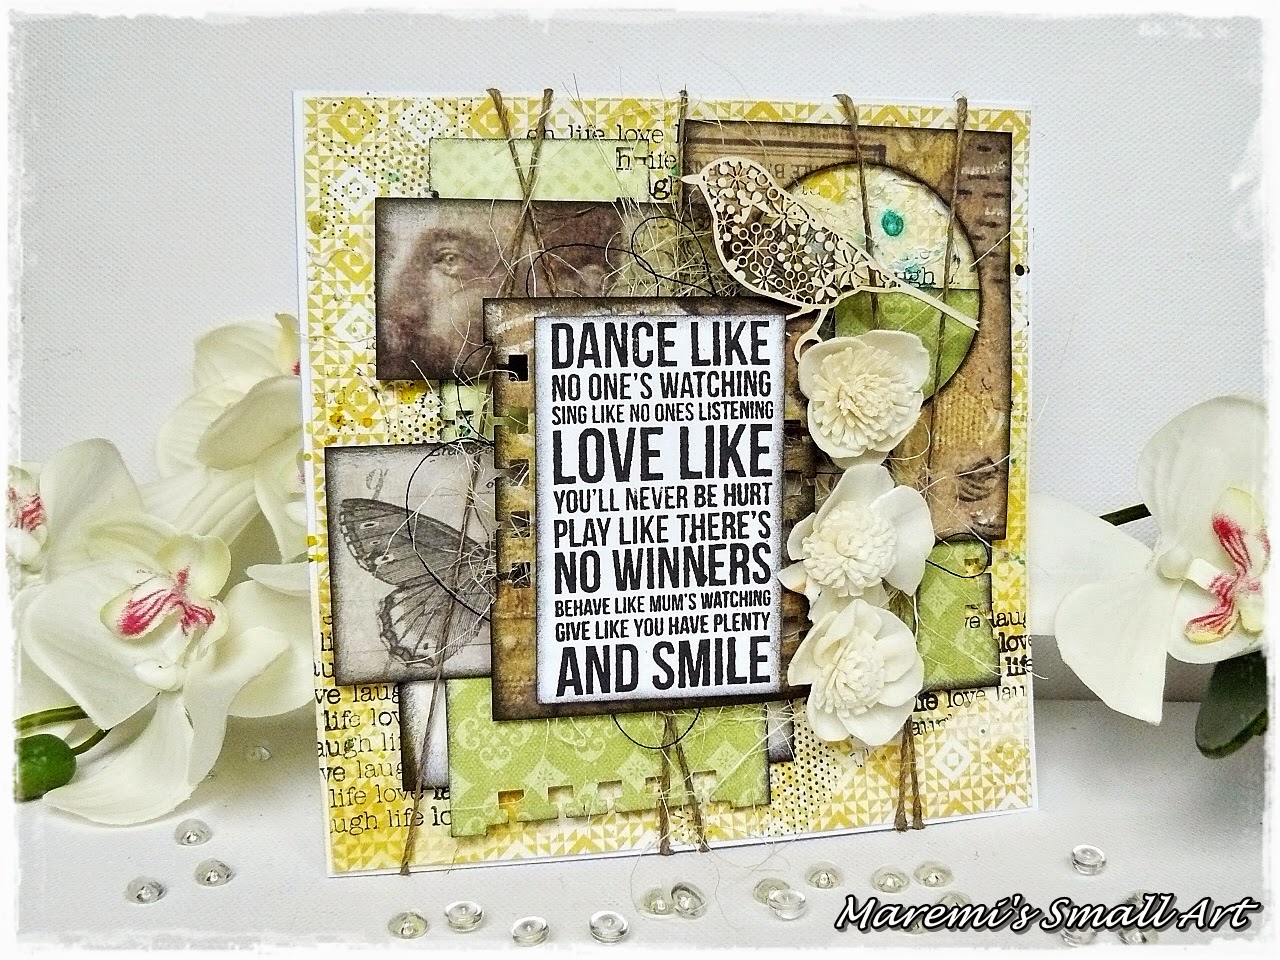
I have decided to do two different vintage cards.
Both of the cards have the same style. I cut out some shapes from stunning Tim Holtz papers. I wanted to show how nice, vintage designs are on the pages. I inked all edges of the cut our papers. 
My most recent love are the strings (in all kids). 
As you can see I have wrapped the card around with some old string from my stash (I think the string comes from a parcel I have received from my parents ages ago). 
I added stunning chipboard lacy bird. In the reality it is absolutely beautiful, delicate and so cute embellisment. Those few flowers are also from my stash but you could use any kind of paper flowers.
Finally my favourite stamp from Kaisercraft Texture Stamp.


Here is few more close ups pictures:


 Our May kit ;)


My second card was also created with stunning Tim Holtz Papers. The flowers were made by me - all you need is paper circle and scissors. I added some chipboard backround lattice covered with white paint. Of course some string under the flower :) My backround has some Tim Holtz stencil with dots and Tattered Angels Mist - colour coffee shop.


Few more close ups ;)


I hope You have enjoyed my vintage cards. I love vintage, dark, old and sometimes dirty look of my creations. Tim Holtz papers are divine and it was my big pleasure to use them! My next project is on it's way... In the mean time If you haven't see my April projects please feel free to take a look ;) at Seaside Layout, Picture Frame or Cards.

Have a great and creative day !
Lots hugs,
Marta x

Monday, March 24, 2014

Final Projects from Joanne for March - Altered Item and LO !

Hi there - Joanne here with my final projects for Cardz n Scrapz using the Cartographer Range by Prima!
Seeing as spring is in the air - I decided for my first project to 'alter' an empty bottle into a beautiful vase !


Of all the projects I have created for this site - this has to be the fastest and simplest - the way I think they should be - as I know how busy everyone is these days !  So simply clean out an empty bottle or use a jam jar or any used glass container.  Using a stripe of Cartographer Paper - I stuck it onto the bottle using double sided tape.  Next I added some of the prima embellishments and flowers I had left over from my previous project (the baggage case mini album) - and stuck them on using Glossy Accents.  Finally I wrapped a piece of twine around the neck and stuck on a Prima wooden butterfly element - and there you have it - all finished !!!


Closer look at the bottle and detail on it.


And of course because its March and that time of the year- I had to add a few daffodils from my garden into it!  Now it really feels like Spring !!!


I couldn't sign off without doing one last LO!  I got creative again with one of my favorite products this year - gelatoes ! I rubbed on 'snow cone' on the top of the page - sprayed it with water and watched it run.  Next I added some glimmer mists and it created all sorts of patterns for me on the page! Using a sheet of paper from the Cartographer range - and stamping the back of another page with the cartographer stamp - it formed the basis for my LO.  I added in a variety of embellishments - from paper clips to Heidi Swapp lettering, to tags and Tim Holtz washi tape !


As a mark of appreciation I made the above LO as a huge THANK YOU to Cardz n Scrapz for having me as one of their designers for the past few months.  I have loved the experience and the joy of taking on so many new challenges - it has definitely increased my creativity and my passion for scrapbooking - so thank you again.  May I also wish the new designers the same enjoyment I got from this whole experience and I can't wait to see your wonderful creations !

Thanks for looking  

Joanne x
DT 

Products used:

Prima Cartographer Range of Papers - 6 x 6 
Prima Cartographer - Crystals
Prima Cartograher - Stamp
Prima Cartographer - wooden elements
Tim Holtz - Ideology range and Washi Tape;
Ranger - Archival Ink - Black
Glossy Accents
Glimmer Mist - Dragonfly
LuminArte - Blushing Rose
Gelatoes - Snow Cone
Chevron stamp;
Heidi Swapp - Vintage Chic - Buzz Words 
White and Black Card Stock;
Range of Paper Clips and clean glass bottle;


Tuesday, February 11, 2014

2 New layouts

Here are 2 more layouts I did using some leftovers from the February kit, along with some other stash items!

Kaisercraft paper 12x12 Art of Life (reverse side)
Tim Holtz Honeycomb Mask
Gesso
Yellow Acrylic
Chipboard Gears
Prima Flowers

For the second one I mainly used:
 Love My Tapes Floral Washi Tape
Tim Holtz Wire Stamp
Glimmer Mist
Chipboard Lattice
Prima Sugar Dots


Thanks for looking

Monday, February 10, 2014

Altered Box - Joanne's New Design Project for February !


 Hi there, Joanne here to show you how simple it is to convert a box that you were about to throw out, into a treasured gift !


 So there I was sitting in my craft room - about to de-clutter as you do - when I spotted this empty box and thought this would be the perfect item to work with for this month's project !

 One found empty box !


So as you can see - its a plain box and all I did was cover it with one sheet of KaiserCraft paper (from their Base Coat Collection - Cardboard).  I then destressed the edges in black to bring it together.


Then I began to add embellishments from the new chipboard collection from Wycinanka - they are amazing and so easy to work with ! Here I have combined the' large feather's, 'photo film' and' fullness of summer' - in with some prima flowers and Tim Holtz ideology collection.


 I sprayed a Petaloo Butterfly with Gold Glimmer Mist and added a Wooden 'R' (Studio Calico) in order to personalise it. Then I added some narratives expressions - and added in some extra prima flowers and chipboard on the side to give it that added touch !  All it needs now is a 'special' something inside -but if you made this - then the box would be the big hit !!!


Enjoy and thanks for looking !

Joanne x

Products Used :

KaiserCraft Paper - Base Coat Collection 12 x 12;
KaiserCraft Paper - Art of Life Collection 12 x 12;
Prima Flowers - Light Grey Flowers, Brown Flowers;
Chipboard - (Wycinanka) - Feathers, Photo Film and Fullness of Summer;
Tim Holtz - Ideology collection;
Glimmer Mist - Gold;
Petaloo Butterfly;
Wooden Lettering - Studio Calico;
Ranger Distress Ink - Black Soot;
1 empty box with a lid !